
Starting Arduino
If this is your first time using Arduino or if you need a refresher, a good resource is this article linked here. The website also outlines a basic test script you can use to make sure your Feather board is functional. Note that the page suggests installing a different board than we recommend below. For the purposes of this project, you'll want to refer to our steps on installing a board.
To download Arduino, visit this page and find the correct version for your computer.
Setting up Arduino for Feather M0 Express Microcontroller
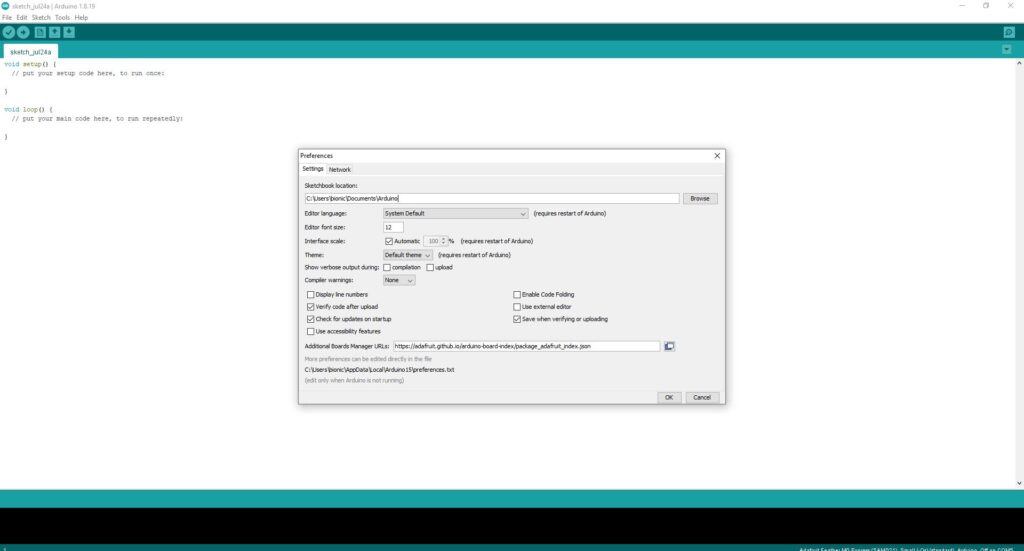
Step 1: In the Arduino top toolbar: File➔ Preferences ➔Additional Boards Manager URLS paste this link https://adafruit.github.io/arduino-board-index/package_adafruit_index.json
Step 2: Relaunch Arduino and select Tools ➔ Board ➔ Boards Manager.
Step 3: Install both Arduino and Adafruit SAMD board packages.

Step 4: Go back to Tools ➔ Boards and there should be an option for Adafuit SAMD boards. Under that pull down option, select Feather M0 Express.
Setting Up Libraries
To simplify the control and testing code, we have created various libraries with functions specific to the U-Build Bionic Knee. To be able to reference these libraries you must put them in the correct place on your computer. To view and change these libraries we recommend using Visual Studio Code. They are worth checking out and watching the videos explaining what they do.
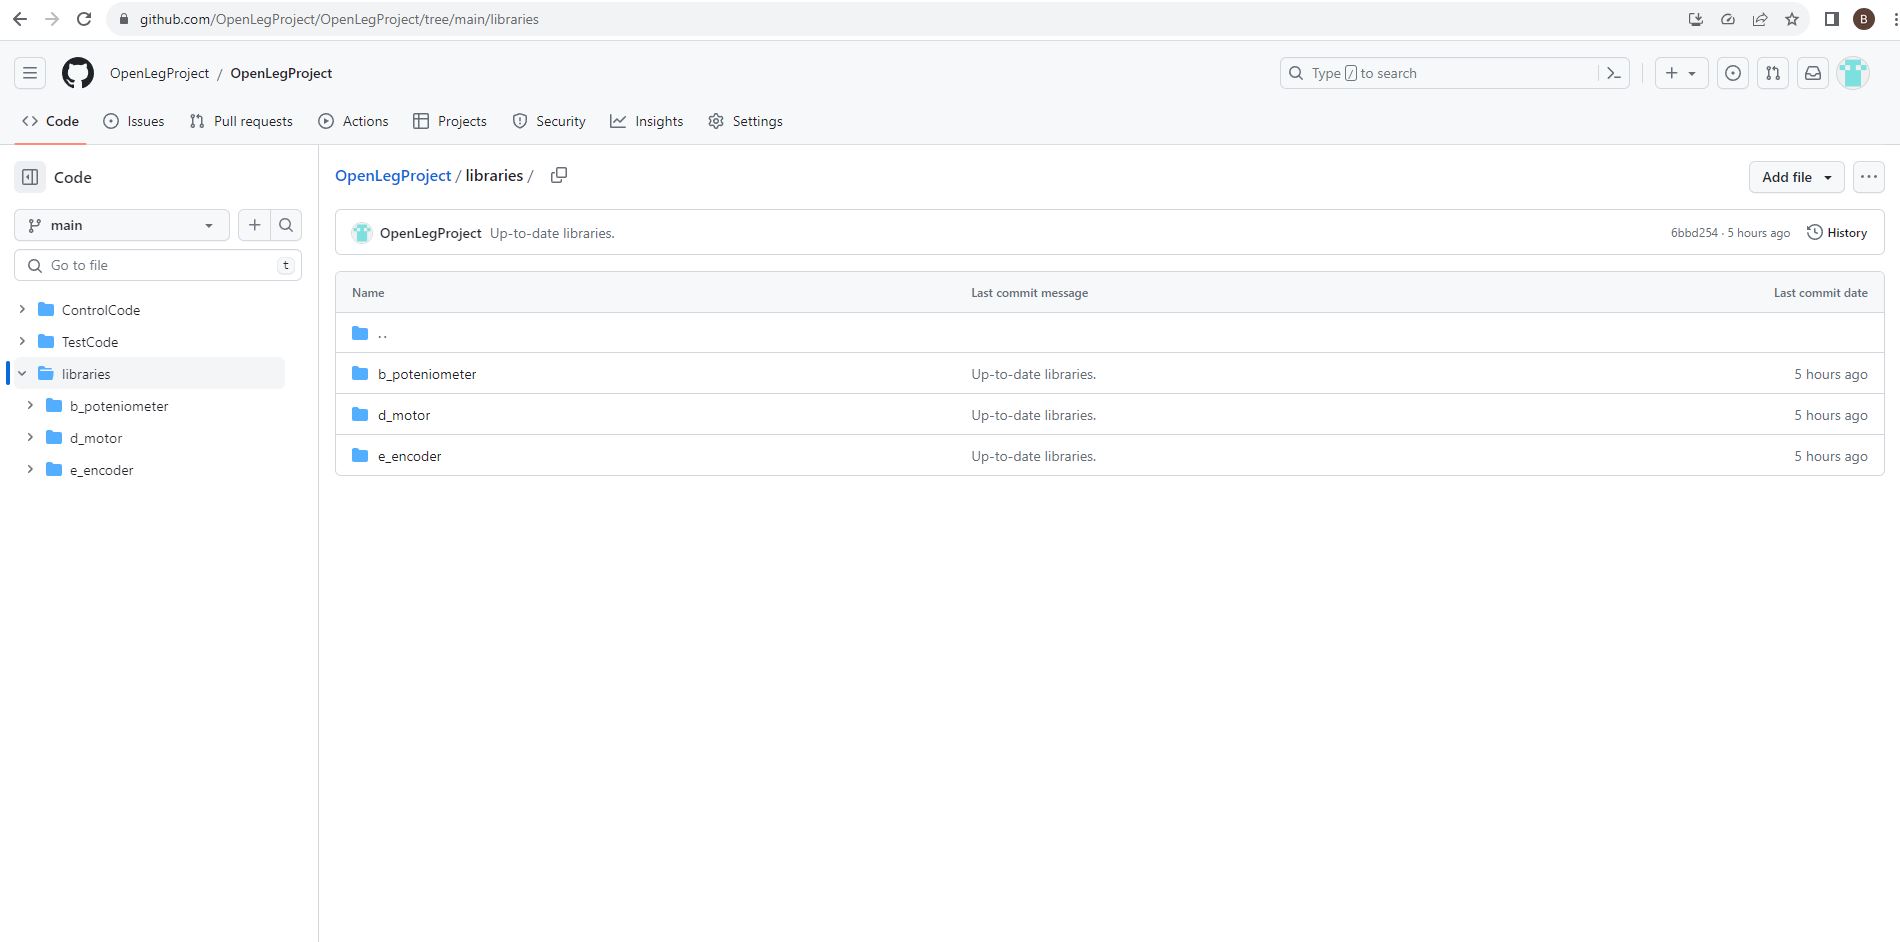
You can download these libraries in the libraries file. Go ahead and download the b_potentiometer, d_motor, and e_encoder files as seen in the image, you will need to create a free Github account in order to download. In file manager use the Cut command and paste the libraries in documents➔Arduino➔libraries. Notice the file structure at the top of the File Explorer window in the picture shown. This navigation path may be different depending on what OS you are on. You will need to find where Arduino stores its libraries and paste these files into it. Make sure that each library is in its own folder with the same name as the library file. This individual folder and naming convention should be true for any Arduino file you use.

Testing the Feather
To test your Feather you will need a micro USB to USB cord. You will plug the micro USB into the micro USB port on the feather. Plug the USB end into your computer. You will also need to download the libraries mentioned in the section above. Download and open the HelloWorld file from GitHub. On the top bar of the Arduino window select Tools➔ Port, then select your Serial port. Typically, the Serial ports are automatically named something like COM1 or COM6. You may have to test a few before you find the correct one. Next, press the check mark button at the top left of the screen to make sure the code compiles. This code will test to see if your libraries are set up correctly and if you're Feather works properly. If the code compiles correctly, then you know your library structure is right. If the LED on your Feather turns off and on after you upload the code, then you know your Feather works.
If the code compiles correctly, there should be text saying "Done Compiling" in the bottom blue bar. You have the correct library structure! If it doesn't compile, the bottom bar will turn orange and an error should appear in the bottom black text box. A quick way to try to resolve these issues is to google the exact error to see if there's a simple solution. As long as you haven't edited the provided code, the issues are most likely due to the setup.
Now we can upload code from Arduino to our Feather board by clicking the arrow button on the top left of the window. If there's an error uploading, try selecting a new port under Tools. Once it has uploaded correctly, open the Serial Monitor. This will be the magnifying glass button on the top right of the window. The Serial Monitor should display text indicating the state of the LED light on the Feather. If the state of the LED on the Feather matches the printed text in the Serial Monitor, then you have a working Feather! If the LED light isn't turning off and on correctly then you may need to purchase another Feather board.
